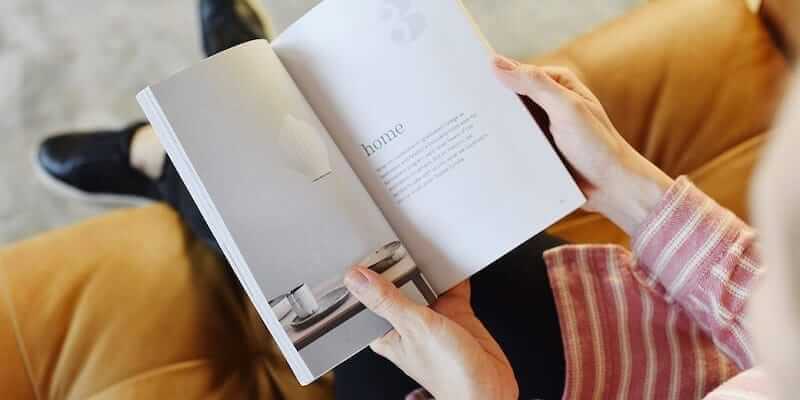
I’ve had a small family blog for almost four years. It is my version of scrapbooking—of preserving our families memories—so I consider it essential to have it printed. Our blog books have become some of my most valued possessions. The boys love flipping through them and seeing how they’ve grown, and I love seeing how my perspective (shown in my writing) changes over the years.
Today I’m going to highlight an online printer, Blurb. My hope is that becoming familiarized with the process will tip the scales and motivate you to get started on printing your blog into a book!
*I am in no way affiliated with Blurb. I’ve merely used them with great success to make several books.
Importing Your Blog Posts
After you download their software (called Booksmart), Blurb can retrieve the contents of your blog from four popular platforms: Blogger, Live Journal, Typepad, and WordPress. All you have to do is log into your particular platform (in my case, Blogger), and Blurb gets busy importing all your posts. (So easy!)
You can select which posts you want to include. For a family blog, you’d probably want to include all of them. But if you have a larger niche blog (like an interior design or a DIY blog), you might consider selecting, for example, your 50 best posts from 2011.
Book Options
Sizes
Square 7×7
Standard Portrait 8×10
Standard Landscape 10×8
Large Landscape 13×11
Large Square 12×12
Paper
Options include standard (80# semi-matte), lustre finish (100#) and matte finish (100#). Lustre/Matte finish paper is 35% heavier, and at the base price, you pay $7 more. However, the cost is proportionate to the number of pages in your book, so the longer your book, the more you pay for the upgraded paper.
I always opt for the upgraded paper just because my books are photo heavy, and I want them to be perfectly opaque (no see-through).
Covers
Choose from Softcover, Hardcover with Dust Jacket, and Hardcover ImageWrap. More info here. I love how my Hardcover ImageWrap books have turned out. (Click here to see the front cover I designed for my most recent family blog book.)
Page Layout
Once you have imported your blog posts, you will want to lay out all the pages. When you have Booksmart open, this is what you’ll see:
The corresponding numbers give you a visual tour of Booksmart:
-
This is where you select each page’s layout. You can choose between numerous Picture Layouts, Text Layouts, and your own customized layouts (see next section).
-
Once you have chosen a layout that works for that blog post, you can click “Edit Layout” if you want to make any further changes, like altering the size of the photo boxes or text boxes.
-
Add and delete pages. (Sometimes I omit whole blog posts if I just don’t think it is an entry worth saving for posterity. 🙂 Conversely, you may want to add more photo pages.
-
Here you’ll find all your photos, which you can drag and drop into photo boxes. You can also upload additional photos from your computer or flicker or…
-
The bottom section is where you navigate what page you’re working on.
-
And this is where you can preview and ultimately print your book. You can review it at any time, even if you’re not yet ready to print.
Customized Page Layout
When you have finishing editing one of Blurb’s existing page layouts, you have the option of clicking “Apply & Save to My Layouts.”
I save each layout as descriptively as possible, like “4 Horiz Pics w/ Text on Bottom.”
A collection of my own tailored layouts speeds up the whole process, as I know exactly what to expect when I click on the layout, and I have a better idea of whether it will work for that specific blog post.
Pricing
I’ve only seen a handful of books printed by Blurb, but from what I’ve seen, I think Blurb produces quality books. In the case of my own blog books, the bindings have been solid, the covers turned out just like I designed them, and the photos are vivid. However, the books are not cheap, especially when they’re as long as mine have been! Check here for more details about pricing.
I hope you found this helpful! To see a review of my latest blog book—in pictures—click here.


Great tutorial. I have done two books using blurb and have loved the quality.
What a wonderful tip – thank you! I had not heard of Blurb. This would be a great way to chronicle the first year's worth of posts. For we old-schoolers who still like to handle a hardcover from time to time… Love it!
Great tip! I'm definitely going to check this out. My husband and I were just talking about how we could convert our blog into book form so this was a very timely post for us.
Thanks, Lori! I'm hoping to do a review of another online printer – blog2print – next Monday. So that'll give you another option. It is so worth the effort!
A timely post for me too. That's something I've wanted to do but worry about pictures taking up tons of room. I love my pictures but don't need huge shots of each one. I also wonder how long you can save your project on there–this looks like something that will take a long time. And finally, do you think its cheaper to do one bigger book or several smaller books?
I keep thinking about this because I really need to do it! I really didn't know where to start. Thanks for the tips. I need to get on it.
I need to do this. I am terrible at scrapbooking, or even printing photos. Thanks for the tutorial!
Yeah, those cuties of your need to be well documented! 🙂
I have done other blog books (my daughter's wedding, a trip to NY city, and a trip to San Francisco and Alaska)using blogger, but never thought about doing from from my blog. I think this is a FABULOUS idea as it would be the perfect way to have our time "on the road" as full time RVer's in a book form for all to see. Thanks for posting this – I'm just going to have to take the time to do this!
Please come check out my blog at http://www.cdm-arewethereyet.blogspot.com.
Thanks again!
Hugs-
Carol
I have wanted to do this for a long time as well- I wonder if it works for private blogs? I will have to check. Thanks for the great tutorial!!
I so want to do this when I have the time and money to design four years of blog posts! lol